
I purchased my first mini-skein set this fall with 2 specific purposes in mind: 1) To try a gradient, 2) To make Lauren a new hat and cowl.

I had so much trouble finding a pattern to make with a gradient, I decided to just improvise one. It occurred to me that others might have the same struggle, so I’ve decided to share my notes here. 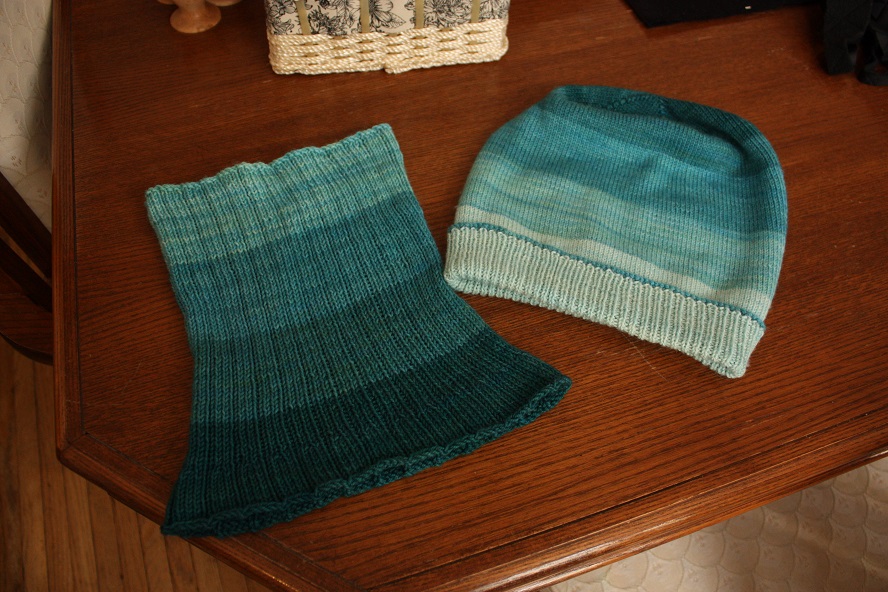
Yarn: SweetGeorgia Yarns Party of Five Mini Skein Set in Colourway “Swell”
Needle: 2.5mm Knitpicks Caspian Needles with 40” cable. 40” because I use magic loop when I knit in the round.
Gauge: 29 sts/4” (Row gauge was not important this time for so slouchy a hat.)
You’re more than welcome to use my notes here to make this hat for yourself – but please consider them just notes. These notes assume you are familiar with the basic knitting concepts and abbreviations, and are no where near as detailed as my real patterns. They are just meant to help out the tired knitter, that just bought a pretty gradient and just came home from work and just wants to knit something fun without having to think or pattern search too hard:)
Instructions:
- Using “Beach House” colour, cast on 136 stitches. I used the cable-cast on.
- Switch to “West Wind” colour, and work back across cast on stitches as follows: *K1,P1, rep from * to end of row.
- Turn, and *P1, K1, rep from * to end of row.
- Now Join to work in the round, and start first round: *P1, K1, rep from * to end of round.
Note: The reason why the first few rows were knit flat before joining in the round, is so that you will be able to knit through the stockinette section later on (instead of purling), and so that the right side of the cast-on edge will show when the brim is folded up. You will use the cast-on tail to sew up this little gap in the ribbing at the end.
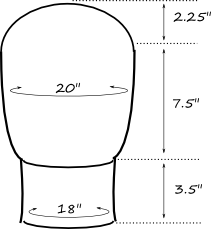
- Continue to work in the round in K1,P1 rib, as established, until ribbing measures 3.5” long from cast on edge.
- Knit the next round, increasing 10 sts evenly across the round (increase 1 st after every 13 sts, 10 times, then knit to end of round.) I used the left lifted increase. Total stitches in round is now 145 sts.
- Continue to knit in the round, straight without further increases, until the hat measures 11” from the cast on edge.
During this plain stockinette portion, change colours whenever you like.
I chose to knit until the “West Wind” was used up as I liked it best. I then knit a few inches of each of the remaining colours. There will be plenty of leftovers no matter what you do, so change wherever you like.
At the end of the 11”, whatever colour you are using will be used to finish the crown.
- Now start decreasing for the crown. Work first decrease round as follows: K15, [sl 1 knit-wise, k2tog, psso, k26] repeat [] 4 more times, knit to end.
- Knit 1 round straight.
- K14, [sl 1 knit-wise, k2tog, psso, k24] repeat [] 4 more times, knit to end.
- Continue to decrease at the spokes, like this, on every 2nd round until 10 stitches remain.
- Break the yarn and draw it through the 10 last stitches, and pull it tight to finish the hat.
And the cowl? I’ll be writing that up for next time:)
Comments
is the cowl pattern available now? i love the shape of it and have been having trouble finding instructions. thanks.
My apologies for the delay in response and thank you for following up!
Is the cowl pattern available?
It is still in draft form and hasn’t been written up yet, but I can send you a notification when I do!