


Now that Christmas is over I can post pictures of the gifts I made, without giving away the surprise to the recipients.
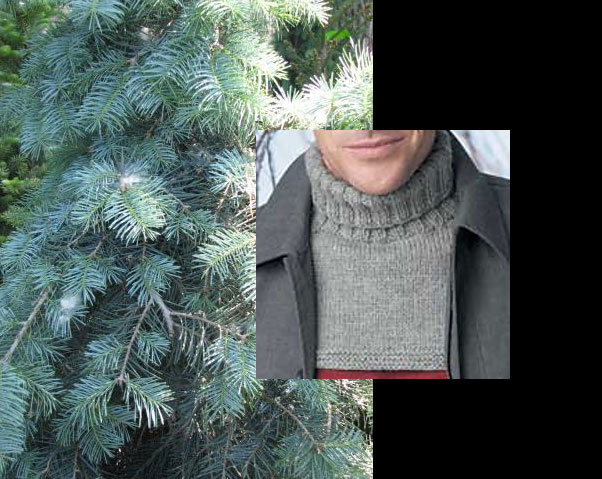
First off is the ‘Abies Dickey’. My dad wears dickies to keep his neck and chest warm when he is working outside in the winter. Thankfully he is one of the few males I can knit for, that isn’t too cool for fair isle ![]()
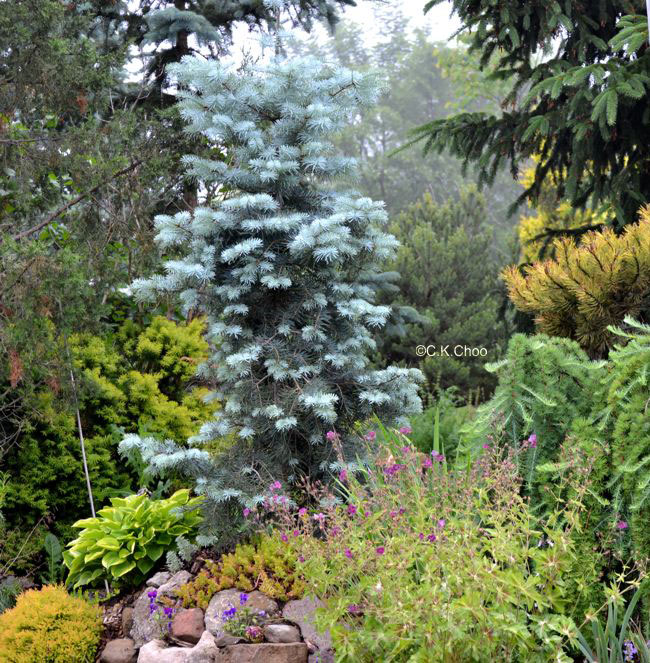
The inspiration for the motif was Abies Concolor ‘Blue Cloak’.
I recently purchased a new laptop and a copy of Cathy Scott’s ‘Stitch Mastery’. I have been disappointed with knitwear design software in the past, but this package has completely changed my life. The price is also unbelievably reasonable for how much functionality is packed in. I don’t think I could go back to life before Stitchmastery. I highly recommend it. The developer herself is also extremely responsive and helpful. How often does that happen?
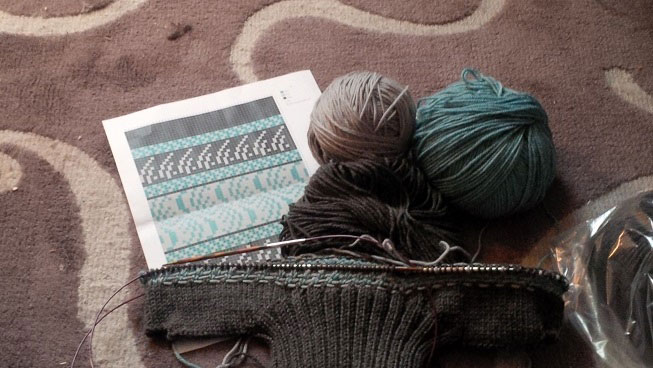
I used this new toy, to whip up the design for this dickey, and here we are at the outset of this project: Worked with Cascade 220 Superwash in the 3 colours shown below, and Knitpicks Harmony needles.
I cast on at the top edge of the turtleneck and worked k2,p2 rib. I ribbed straight for 7″, then cast on back and front shoulder stitches, the same way you would cast on for a toe-up sock (casting on back and front at the same time but wrapping stitches around both needles.) I worked some short rows at the front for the shoulders, while working straight back and forth across the back. After about 2″ of short rows, I knit across the remaining stitches at the base of the neck to join the entire row. Now we’re working front and back in the round as one giant fair isle tube, with 8 columns of steek stitches at each end.
While this sounds complicated, I did ALL this to avoid 2 things: 1) Sewn shoulder or neck seams, because sewn seems are not elastic enough for my taste for an accessory like this, 2) Colour-work while knitting back and forth. I enjoy colour-work but I enjoy it a lot more when working in the round.
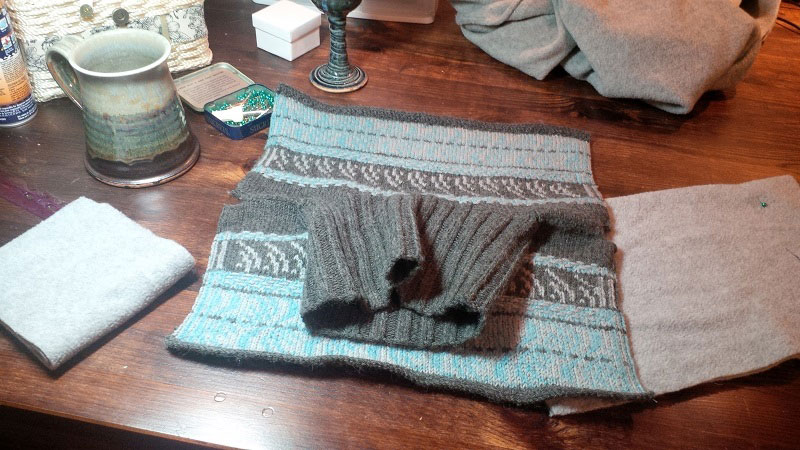
So here we are after completing all that knitting, and accidentally semi-felting it all in the dryer while attempting to pre-shrink the superwash wool ![]()
After I calmed down, I played with it a bit and determined that it was still soft and stretchy enough to be giftable, so I continued.
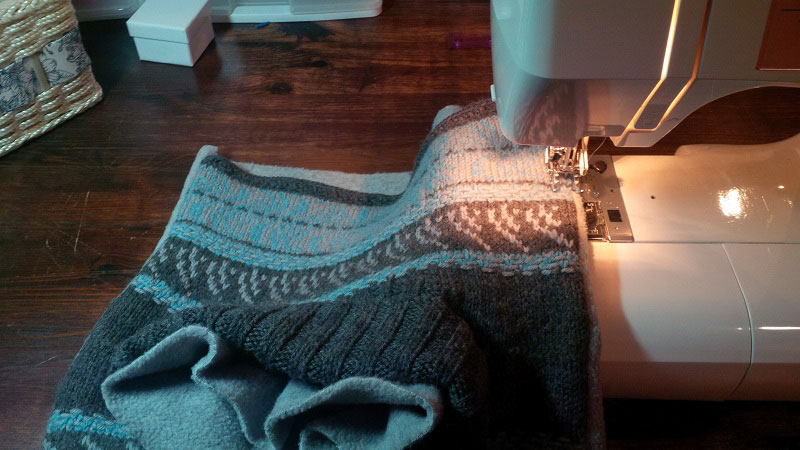
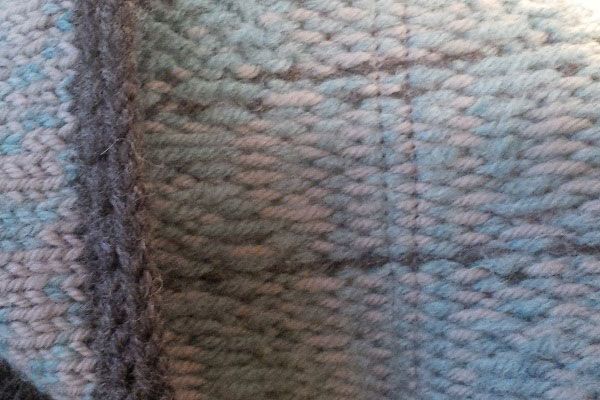
I machine-sewed the steeks to re-inforce them. I don’t trust superwash.
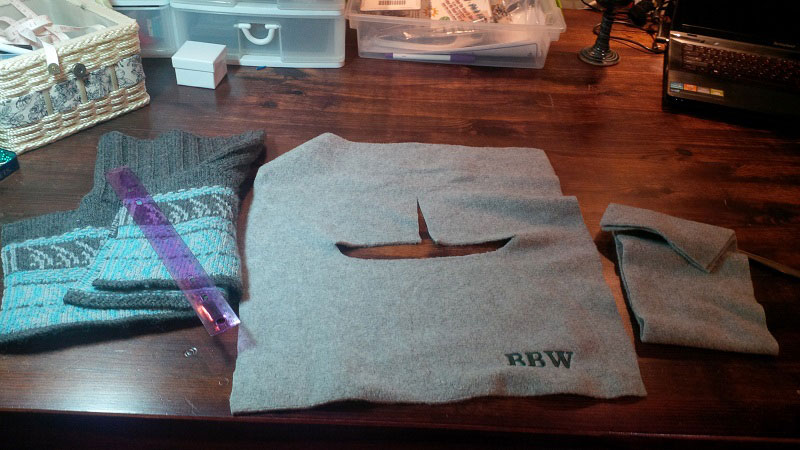
By the way, here is the first failed attempt at embroidering “BBW” on the fleece. This is what happens when you hoop and embroider polar fleece without using any stabilizer:
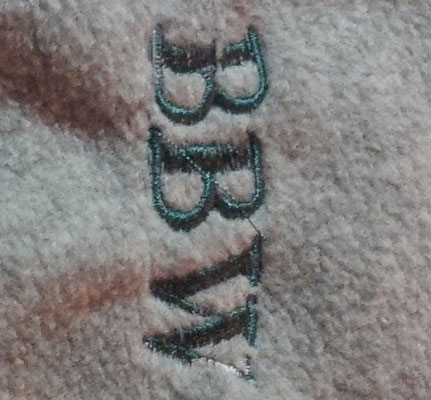
Needless to say, I had to throw out that fleece and start over to achieve what you saw in the previous image. After being burned once, I played it very safe and actually used TWO stabilizers: A medium-weight tearaway on the bottom, and a saran-wrap-like, soluble stabilizer on top, in order to hold the textured fleece flat for clean embroidery.
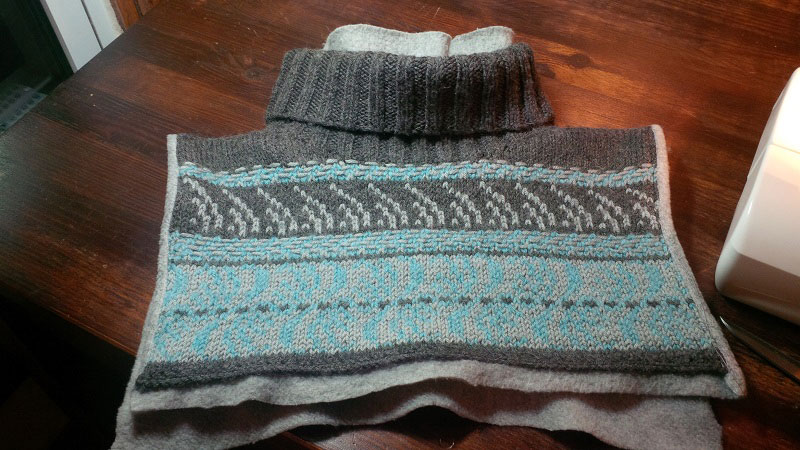
Here we are, stitching the lining in place. I stitched the fleece neck tube to the fleece body piece, by snipping the curved neckline and easing the neck tube in place. I then stitched the fleece to the knitted work with right sides together, using 2 seams: 1 down each side, inside the 1st steek stitch column. I then turned it inside out and top-stitched down that 1 steek column, to hold the fleece/knit seam flat, as seen here: