Since I had to re-knit my mitten due to my dissatisfaction with the original result, I also got to retry my attempts to weave-in the ends using a crochet slip-stitch. Last time, if you’ll remember, I reported that my attempt was inconclusive. This time, I can conclusively say: This method is THE method. Forever.
1. Pull all the ends down towards the cast on edge, to tight them up:
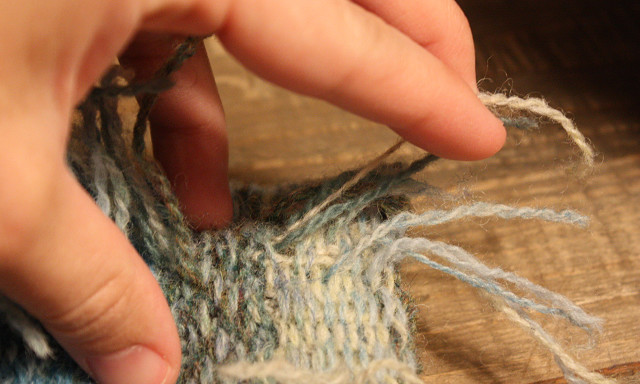
2. Start at the loose end, furthest from the cast-on edge. Insert a 4.25 (+/- 0.5mm) crochet hook into a float in this area.
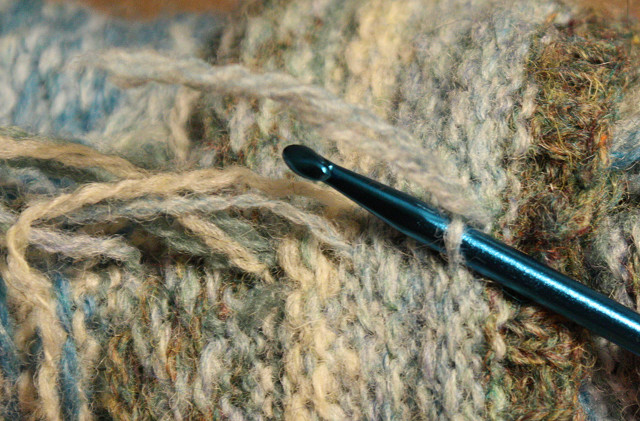
3. Grab the next nearest 2 strands of loose ends and crochet slip-stitch them through that first float, leaving a loose loop for the next stitch. Put those 2 ends aside out of the way. They’re pointing “Up” in the completed portion of the image below. Crochet your way down the column, grabbing 2 new strands for each stitch and putting them aside at the end of the stitch.
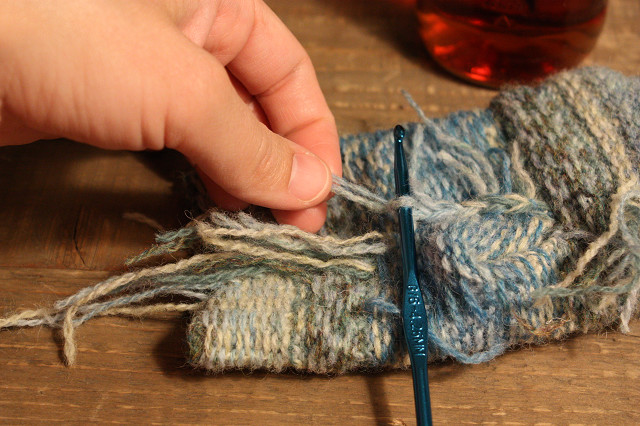
4. At the end it will look a bit like this. Pull the ends a bit tighter to make it look like the photo below:
5. Now trim the ends so that they are all roughly 1cm to 1.5cm long:
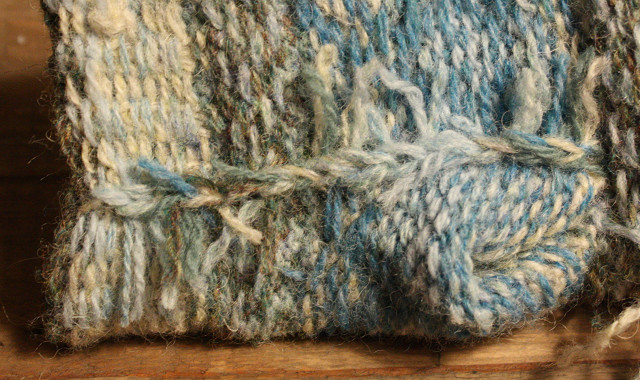
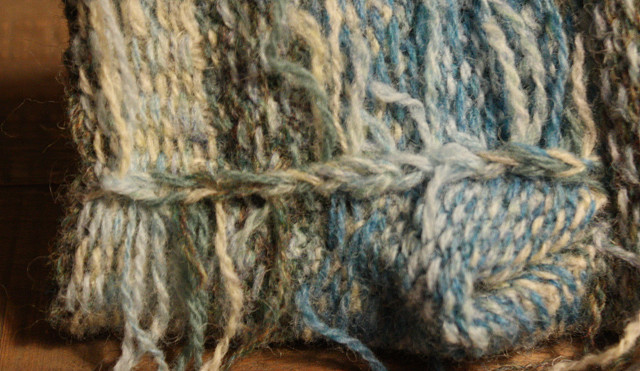
6. Now here’s the right side of that seam. Can you tell where the crochet column of ends were woven in? ![]()
Not me! I like this sleek looking weave-in. If you remember to do the crochet loosely enough, you’ll still have plenty of elasticity.
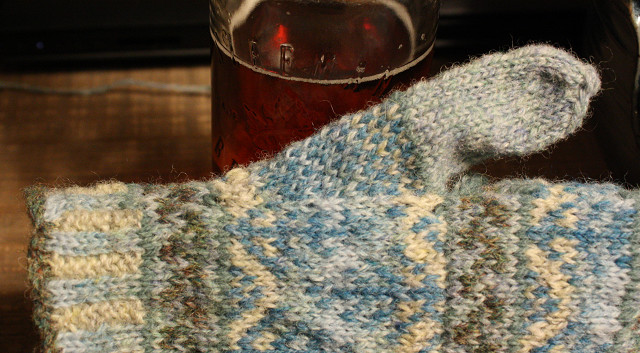
This is the un-blocked mitten. If you look at the pattern pictures in my previous post you can see how beautifully this yarn responds to blocking. I will add that it is remarkably soft too, considering how scratchy it is while you are working with it.